What is fun to write and read all over? The ever popular blog post style: the list post. Most likely to be shared on social networks, bookmarked and get reader’s comments it is no wonder they are blog writers favorite go to style.
List Post
Medium | Use Max times per week 5 | Interaction Index 5 (scale from 1 low-5 high)
Readers love list posts because they provided key information about a subject in an easy to read format.
Headline: Begin with “Top 10…” or “5 Steps…” or “6 Tips…” or “7 Secrets…” then add some drama and hype to catch reader interest “5 Must Take Steps to Successful…”
Intro: Catch the reader’s interest with a bold statement and make the scope of the list clear. Your list should contain at least 5 items. Consider making a series of posts if your list is over 15 items.
Content:
- Number each item and be consistent in presentation.
- Be sure each item contains real content of value.
- Keep each item short. Use a sentence or a short paragraph to cover the point.
- Order the list with the strongest items first, second and last.
Conclusion: Encourage readers to add to the list in the comments.
Examples:
Rick’s Tips: 5 Favorite Low Cost or Free Image Sources for WordPress Blog Posts
Rick’s Top Ten Ways to Get Facebook Fans – Likes for Your Page
Resource Links:
Pro Blogger 10 Steps to the Perfect List Post
Website in a Weekend 7 secrets for creating successful list posts
Your well written list post may make it to your sites 10 ten most popular post list in 2012. Tomorrow last but definitely not least in our Blog Posts Made Easy Series – the Regular Feature Post.
- Intro Simple 4 Step Blog Post Formula
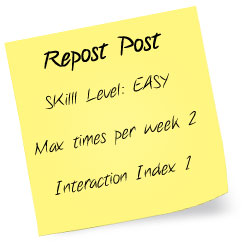
- Repost Post
- Contact Post
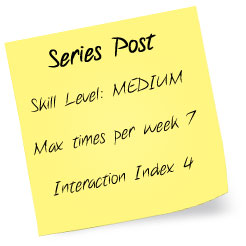
- Series Post
- Regular Feature Post
Sue Surdam | Artizon Digital | WordPress Specialist and Social Media Solutions